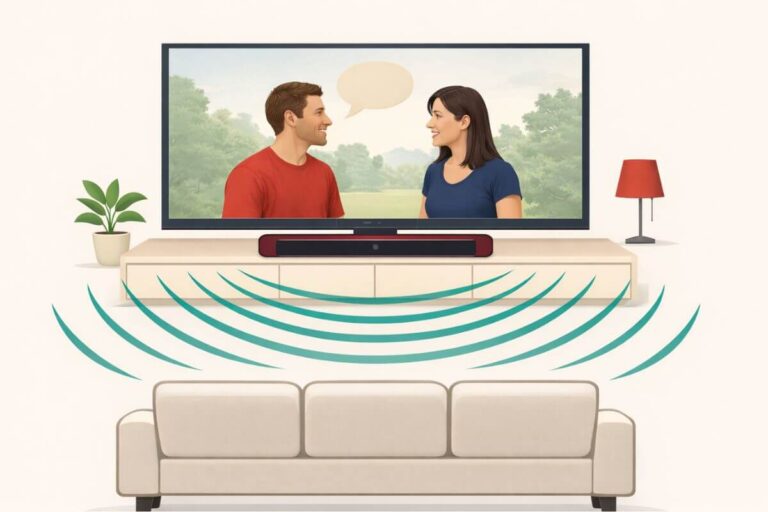
Make TV Voices Louder and Clearer (For Free)
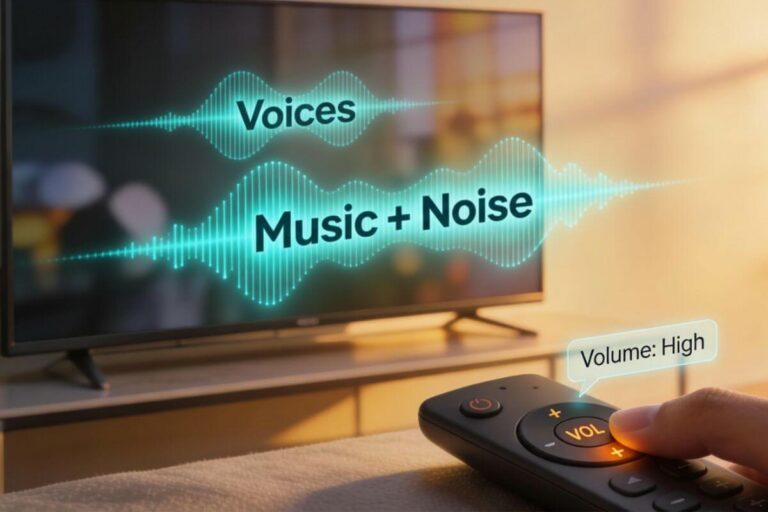
If TV voices sound soft, muddy, or buried under the music, you are definitely not alone. This is one of the most common complaints from viewers today. The reason isn’t that the actors are whispering—it’s how TV shows and movies are mixed.
Modern sound mixing puts huge focus on:
- Background music
- Explosions
- Special effects
Dialogue is often the quietest part of the audio track.
At the same time, most TV speakers are:
- Small
- Hidden inside the frame
- Pointed downward or backward
This makes voices even harder to hear. Combine all of that, and dialogue becomes the weakest part of the sound.
If you’ve ever said, “Why can’t I hear what they’re saying?” you’re not alone. The good news is that simple setting changes can make TV voices louder and clearer–and it won’t cost a thing. And that’s what this guide is all about.
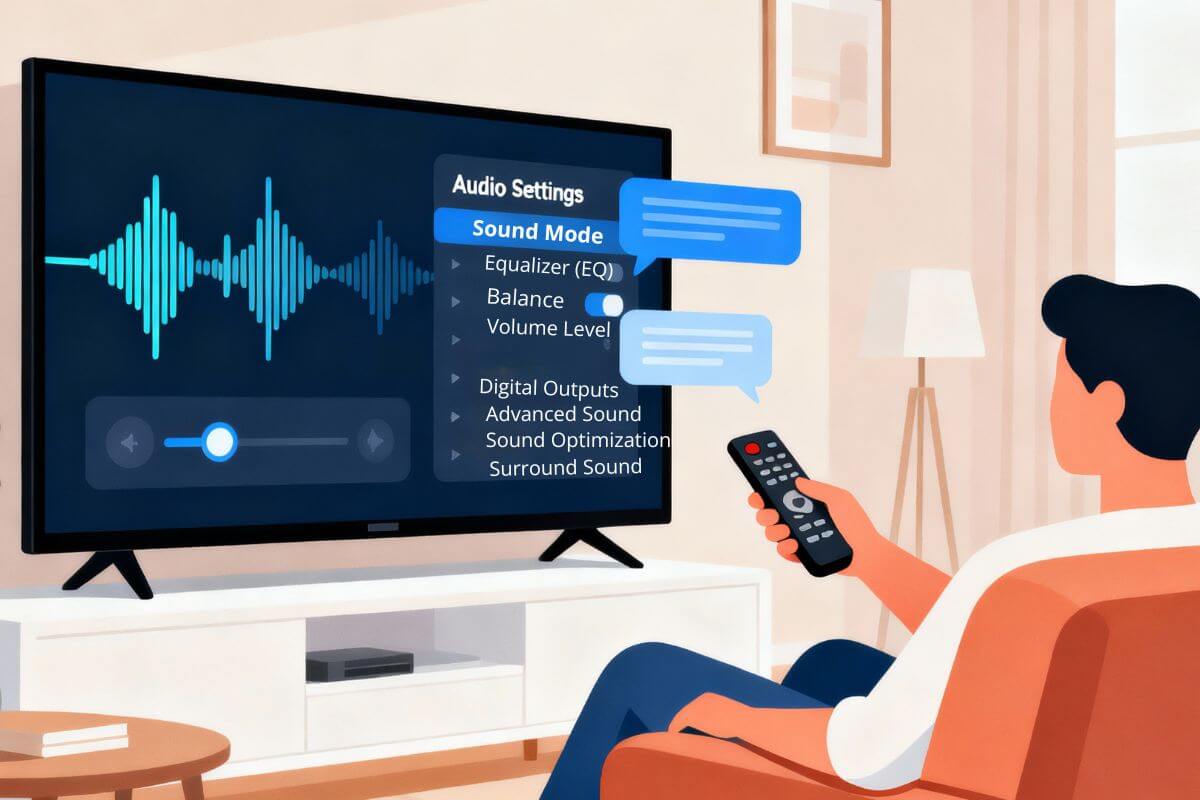
Quick TV Audio Settings Checklist
Use this checklist first—details and examples follow below.
- Sound Mode: Speech / Dialogue / Standard
- Dialogue Boost or Voice Enhancement (if available)
- Equalizer: Raise mid-range, lower bass
- Volume Leveling / Auto Volume
- Audio Output: TV Speakers vs ARC / Optical / Bluetooth
How Hearing Changes Affect Speech Clarity
As we get older, certain frequencies become harder to hear. Unfortunately, TV voices live exactly in that range. This means even when the TV is loud, voices still sound soft or muddy.
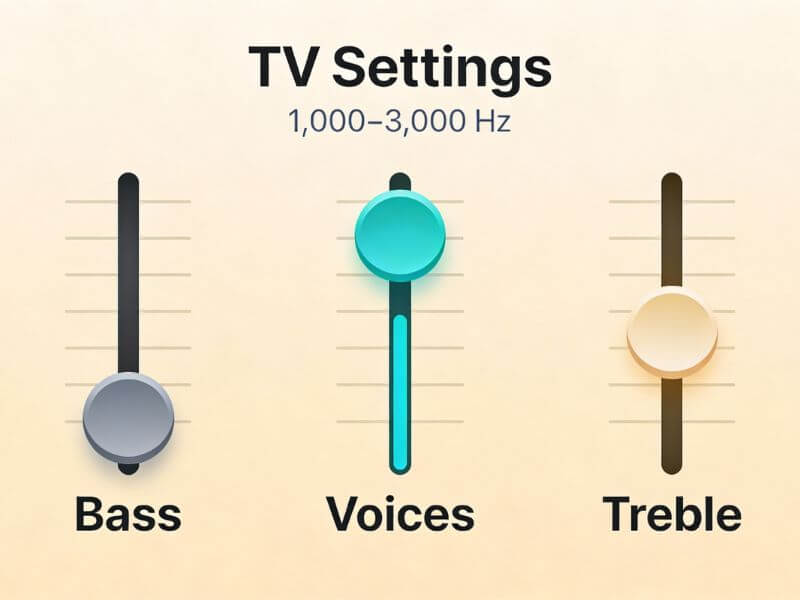
The range affected:
1,000–3,000 Hz → the exact range where human speech lives
But don’t worry. By adjusting your TV settings the right way, you can boost this range and instantly make voices clearer.
Free Ways to Make TV Voices Louder and Clearer (No Equipment Needed)
Before buying anything, try these free fixes. Most people see a major improvement in sound clarity after adjusting just one or two settings.
These work on:
- Smart TVs
- Older TVs
- Roku TVs
- Fire TVs
- Streaming boxes
- Cable boxes
Turn Off Surround Sound or “Virtual” Effects
Surround sound spreads noise around the room. That’s great for movies, but terrible for understanding speech.
When surround sound is ON, voices get pushed to the back or sides.
This was news to me! I always thought surround sound was the best setting. I now have all our TVs on “stereo”.
Turn OFF:
- Surround
- Virtual Surround
- 3D Sound
- TruSurround
- Cinema
- Theater
- Stadium
Turn ON:
- Stereo
- PCM

Switch to Stereo or PCM (Best Choice for Dialogue)
If your TV gives you choices like Dolby, Surround, or Atmos, switch to Stereo or PCM. These modes put all voices directly in front, where you can hear them best.
If your TV gives you a choice between:
- Dolby
- Surround
- Stereo
- PCM
Choose Stereo or PCM every time. These keep the voices in the center, making dialogue easier to hear.
Turn On Dialogue or Speech Clarity Mode
Almost every TV brand includes a built-in speech enhancement setting.
Look for:
- Samsung: Clear Voice
- LG: Clear Speech
- Sony: Voice Zoom
- Roku TV: Speech Clarity
- Fire TV: Dialogue Boost
These settings boost the midrange—exactly what improves speech clarity.
Adjust the TV’s EQ for Better Voice Clarity
This is one of the most powerful upgrades.
Do this in your TV’s Equalizer:
- Lower the Bass (this removes rumbling that hides voices)
- Raise the Midrange (this is where human speech lives)
- Keep Treble in the Middle (too much can sound sharp)
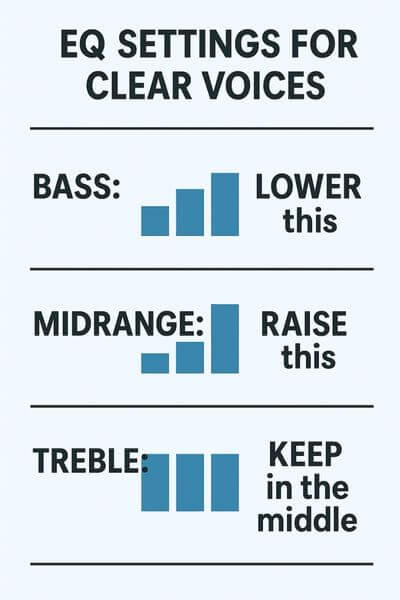
This setting alone often solves 80% of “muffled dialogue” complaints.
Disable Auto Volume Leveling (If Needed)
Auto Volume tries to make everything the same loudness. That sounds helpful, but sometimes it flattens speech too much.
Turn this off if voices sound dull or distant.
Turn it on if commercials are blasting.
Reduce Background Noise from the TV’s Settings
Some TV modes make voices harder to hear because they boost background effects.
Turn OFF these modes:
- Stadium
- Sports
- Ambient
- Cinema
- TruSurround
Turn ON:
- News
- Standard
- Speech
These modes are cleaner and voice-focused.
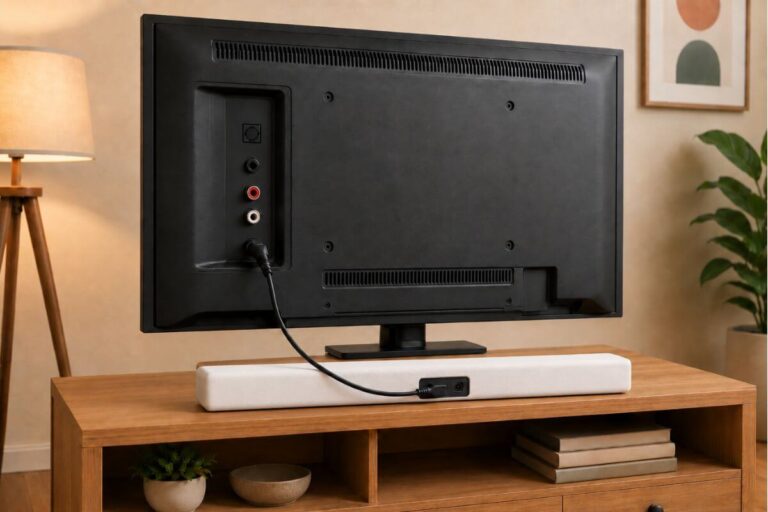
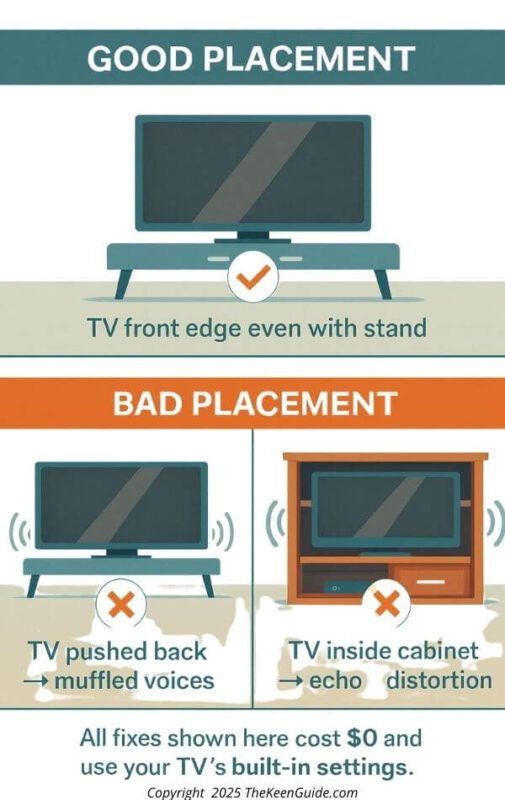
Improve TV Placement for Clearer Sound
Bad placement can muffle sound even if your settings are perfect.
Avoid placing your TV:
- Inside a cabinet
- Behind glass
- Inside a wall unit
- Far back on a shelf
- Facing downward
Move it forward:
- So the speakers are not blocked
- So the sound travels toward you
📌 If you’re using an indoor antenna, better reception can reduce dropouts that make voices sound choppy—start with my step-by-step indoor antenna setup guide.
Reduce Room Noise and Echo
You don’t need to buy acoustic panels.
Free ways to reduce echo:
- Close curtains
- Close doors
- Turn off fans
- Place a folded towel under the TV
- Move the TV away from bare walls
- Put a blanket behind the TV for sound reflection
All of these help voices sound clearer.
Use Subtitles as a Last-Resort Free Aid
Closed captions are helpful when you still can’t catch every word.
Turn on:
- CC
- English CC
They’re great for TV shows with heavy accents or poor mixing.
Fix Quiet or Muffled Voices on Older TVs
Older flat-screen TVs (2008–2015) often have:
- Weak speakers
- Bad audio presets
- Confusing menus
- Outdated “Surround” modes
Try these on older models:
1. Turn off Surround or SRS
Older “SRS TruSurround” is notorious for muddy voices.
2. Switch to Mono or Stereo
Mono can make voices clearer because all sound goes to one channel.
3. Reset audio settings
If a TV is more than 10 years old, someone may have changed the settings without realizing it.
4. Move the TV forward
Older speakers point downward and badly need open space.
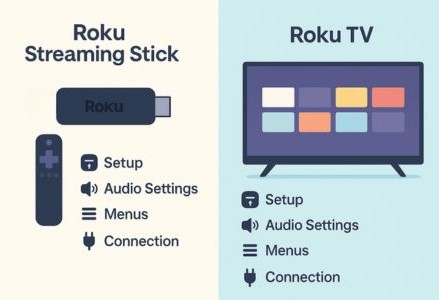
Roku Audio Fixes (Roku TVs + Roku Sticks)
Roku devices offer several built-in tools that can make dialogue clearer, but most people never adjust them. These settings work on all Roku models, including Roku Streaming Sticks and Roku-branded smart TVs.
Key settings to adjust:
- Volume Mode → Leveling
Reduces loud commercials and boosts quieter voices so everything stays balanced. - Speech Clarity (Low / Medium / High)
Available on many Roku TVs. This mode isolates dialogue and pulls it forward in the mix. - Sound Mode → “Standard” or “Dialogue”
These options increase mid-range frequencies—the part of the audio spectrum where speech lives. - Night Mode (Optional)
Compresses audio so voices stay clear even at lower volumes.
If voices still sound muffled, check the Audio Output setting and make sure it is set to Stereo instead of “Auto” or “Surround.” Many TVs can’t decode Roku’s virtual-surround modes correctly, which causes dialogue to sink into the background.
Fire TV / Firestick Audio Fixes
Fire TV devices include several voice-clarity tools that most people never use. These settings work on all Fire TV models and all Firestick models, since they share the same Fire OS.
Key settings to adjust:
- Dialogue Boost (Low / Medium / High)
Strengthens spoken voices without raising background noise. One of Amazon’s best features. - Audio Format → PCM
Forces Fire OS to output a clean, consistent stereo signal. This prevents dialogue from getting buried under surround channels. - Surround Sound → OFF
Most TVs can’t properly decode virtual surround. Turning it off makes voices clearer immediately. - AV Sync → Adjust Slider
Fixes lip-sync problems where the voice doesn’t match the actor’s mouth.
Fire TV’s Dialogue Boost is one of the strongest free voice-clarity tools available on any streaming device today. If you own a Firestick or a Fire TV-branded television, these settings will make dialogue noticeably easier to understand.
Apple TV Speech Clarity Settings
Apple TV has very clean audio options.
Use:
- Reduce Loud Sounds (helps if effects overpower speech)
- Format → Stereo
- Spatial Audio → OFF (if using built-in TV speakers)
Apple TV also allows EQ adjustment in some apps.
Cable Box & Satellite Box Speech Fixes
Cable boxes often override your TV’s audio.
Comcast / Xfinity
Audio → Stereo
Or
Audio → Fixed Output
Spectrum
Turn Dolby Digital OFF
Use Stereo or PCM
DirecTV
Dolby Audio → OFF for clearer voices
Dish Network
Audio → PCM
Surround → OFF
This alone solves muffled voices for many users.
App-Level Speech Settings (Streaming Services)
Netflix
Use:
- “English (Audio Description)”
- Turn OFF 5.1 if using TV speakers
Amazon Prime
Dialogue Boost → Low / Medium / High
Hulu
Turn off 5.1 Surround when available
Disney+
Try “Stereo” or “Original Mix” if listed
Max (HBO)
Switch audio track to Stereo
YouTube
Enable captions
Lower app volume and raise TV volume for cleaner sound
💡 And if you mainly watch older shows, you may also like my guide on where to watch classic TV shows for free, because many classic programs have low-volume dialogue mixes.
Streaming Device Audio Fixes
If you use a streaming device, they have their own settings too.
Roku
Audio → Speech Clarity
Audio → Leveling (optional)
Firestick
Audio → Dialogue Boost
Audio Format → PCM
Apple TV
Audio Mode → Stereo
Reduce Loud Sounds → Optional
Troubleshooting Lip-Sync & Delay Problems
Sometimes voices sound unclear because the audio and video don’t match. When lips and sounds don’t match it positively drives me crazy.
Fixes:
- AV Sync → Adjust slider
- Turn off Bluetooth speakers (adds delay)
- Restart streaming device
- Lower video resolution if your Wi-Fi is slow
- Use PCM instead of Dolby (faster processing)
Quick Checklist: Easy Ways to Fix Muffled TV Sound
This list will help you make the fixes you need for clearer sound.
Step 1
Go to Settings → Sound → Surround Sound → OFF
Step 2
Go to Sound Mode → Standard / News / Clear Voice
Step 3
Go to Audio Format → Stereo or PCM
Step 4
Go to Sound/Audio → Equalizer (EQ) → raise the Voice/Midrange band, lower Bass, and keep Treble around the middle.
- Too much bass muddies speech, so pulling bass down a bit often makes words easier to hear.
- TV dialogue lives in the midrange (around 1,000–3,000 Hz), so raising that band or any “Dialogue/Voice” slider brings voices forward.
- Keeping treble near the middle avoids harsh, hissy sound while still keeping some clarity.
Step 5
Move the TV forward on the stand
Step 6
Close windows, turn off fans
Step 7
Turn on captions if needed
Optional Add-Ons
If commercials are loud but voices are still hard to hear, you may be at the limit of what settings alone can fix. Wireless TV headphones give you separate volume control for clearer dialogue—see my headphone guide here.
Frequently Asked Questions
Why are TV voices suddenly so quiet?
TV voices aren’t quiet because you’re “going deaf” or the actors are mumbling. They’re quiet because of how modern sound is made and how we listen to it now.
Today, most shows and movies are mixed to sound like a movie theater:
Big booms and music are loud on purpose so things feel cinematic.”
Voices are often not boosted to match, so they sit lower in the mix.
That kind of mix can work fine in a theater with giant speakers. But at home, you’re usually listening on:
Small TV speakers that point down or backward
A living room with fans, open windows, or other noise
A flat screen that was never designed to handle deep bass and clear voices at the same time
On top of that, streaming services sometimes compress the sound or default to surround modes (like 5.1 or Atmos) even when you only have simple TV speakers. That spreads sound around the “imaginary room,” and the dialogue channel doesn’t always end up front and strong like it should.
That’s why the fixes in this guide work so well: turning off surround, switching to Stereo or PCM, and boosting the midrange EQ basically undo those problems and push the voices back where they belong—front and center.
Which setting improves speech the most?
Switching your TV’s audio format to Stereo or PCM almost always improves speech the most — and here’s why.
Most TVs automatically choose Dolby, 5.1, Surround, or Atmos even if you don’t have surround speakers. When that happens, the TV still tries to “decode” a surround mix using its tiny built-in speakers.
The result?
– The center channel, which carries almost all the speech, gets lost
– Voices sound softer while effects and music get pushed forward
– Dialogue blends into background noise
When you switch to Stereo or PCM, the TV stops trying to simulate surround sound and instead mixes everything into two strong front channels. That means:
– Voices move back to the center
– Speech becomes clearer and louder
– Background noise gets reduced
– Older and cheaper TVs sound dramatically better
Stereo = simpler, cleaner sound
PCM = the clearest, most consistent option on almost every TV
So if you only try one fix, make it this one. It gives the biggest and most immediate improvement for nearly everyone.
Does Dialogue Mode really work?
Yes — Dialogue Mode really does work, and for most people it can make a big difference. These modes aren’t gimmicks. They boost the exact frequencies where human voices live and reduce the sounds that compete with speech.
Here’s what Dialogue Mode actually does inside your TV:
– Raises midrange frequencies (1–3 kHz) — this is the “voice range”
– Reduces heavy bass that rumbles over dialogue
– Lowers background effects like music, traffic, or explosions
– Brings voices forward so they sound closer and clearer
– Stabilizes volume so soft speech is easier to understand
On many TVs it’s called “Clear Voice,” “Voice Zoom,” or “Speech Clarity,” but they all work the same way.
Most people notice a difference right away — especially seniors or anyone watching in a noisy room. If you struggle to hear dialogue even with the TV loud, turning on Dialogue Mode is one of the easiest and most effective fixes you can make.
Why does Surround Sound make voices worse?
Surround Sound makes voices worse because it changes where the dialogue is supposed to come from — but your TV doesn’t have the right speakers to play it correctly.
In a real surround-sound system (with 5, 7, or more speakers), the center speaker handles almost all the talking.
But most TVs don’t have a center speaker. They only have two small speakers that point down or backward.
Here’s what happens:
– The movie or show sends the voices to the “center” channel.
– Your TV tries to fake that center channel using its tiny speakers.
– The effect spreads dialogue across the whole soundstage, instead of keeping it clean in front.
– Voices get blended with music and sound effects, so they sound softer or farther away.
It gets even worse if the TV has these turned on:
Virtual Surround
TruSurround
SRS
3D Sound
Theater / Cinema modes
All of these try to create “surround effects,” but they also:
Pull the voice away from the listener
Lower the volume of speech
Boost background noise
Add echo that muddies dialogue
This is why switching to Stereo or PCM instantly makes voices clearer — those modes force the TV to put all sound (especially speech) into the speakers directly facing you.
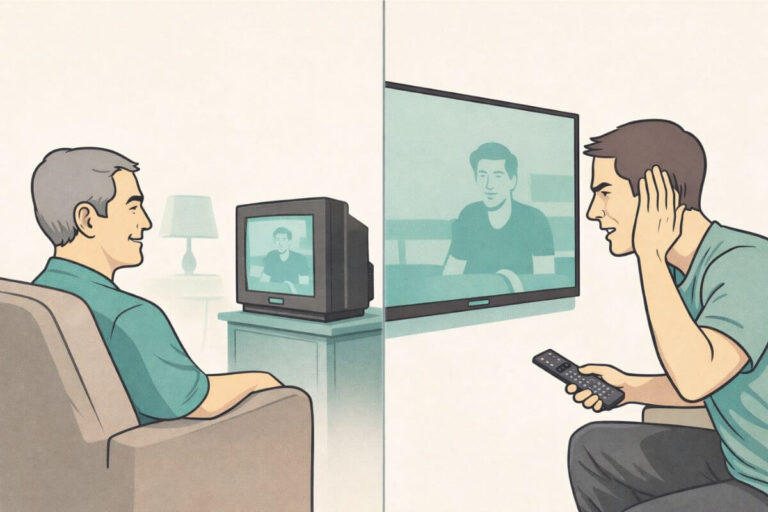
Are older TVs worse for voice clarity?
Yes. Older TVs almost always struggle with dialogue because they use tiny speakers, point them downward, and rely on outdated audio modes like SRS or TruSurround. These older presets boost effects and bass but don’t boost the midrange where voices live.
As the speakers age, they also lose sharpness, which makes speech sound even muddier. Switching to Stereo, PCM, or Mono usually gives the biggest improvement on older sets.
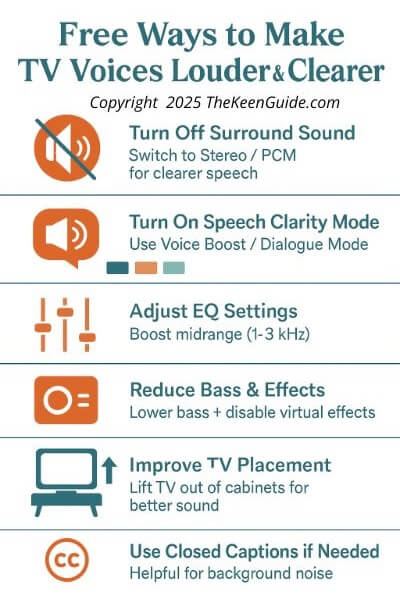
Quick Summary: Free Ways to Make TV Voices Clearer
If you’ve made it this far, your TV should already sound noticeably better. To help you double-check everything, here’s a simple summary chart of the six free steps that make the biggest difference in speech clarity.
Wrap Up
By now your TV should sound noticeably clearer. Small changes—switching to Stereo or PCM, boosting voice in the EQ, lowering bass, and turning off artificial surround effects—often remove the muddiness that makes dialogue hard to follow.
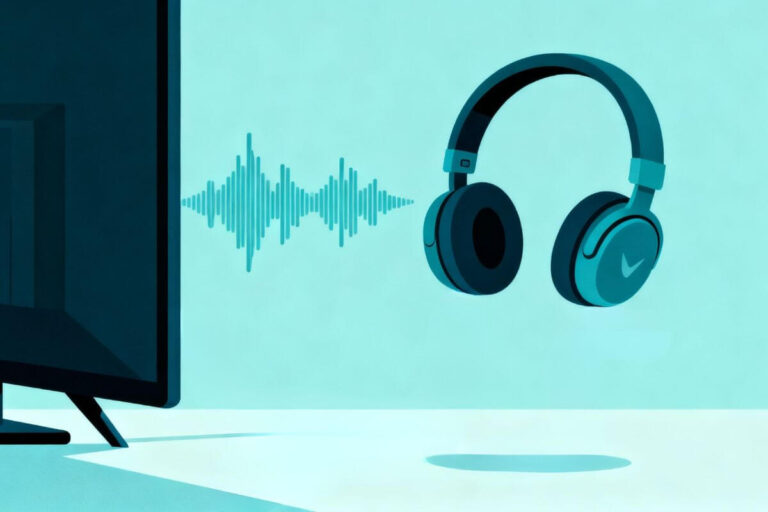
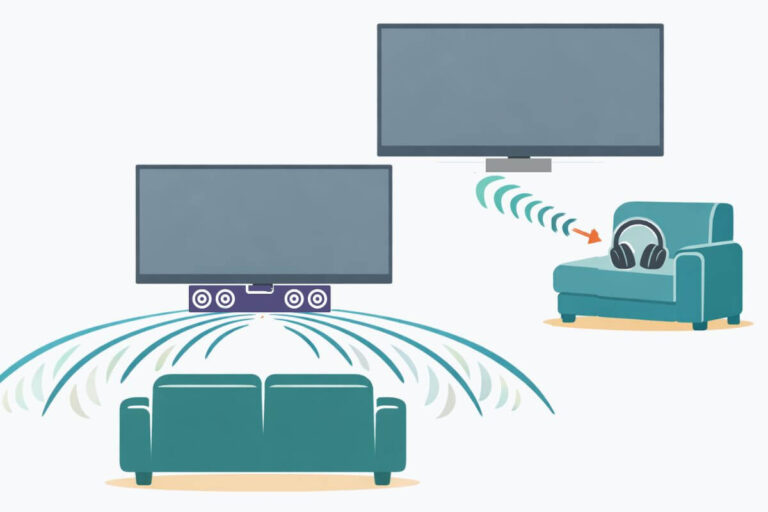
If these free adjustments still don’t solve it, the next step is choosing the right kind of upgrade: a soundbar to improve sound across the seating area, or TV headphones to deliver clearer dialogue directly to one listener.
And if what you need most is maximum speech clarity—especially during quieter scenes—my guide to wireless TV headphones walks through dialogue-focused options that can help when settings alone aren’t enough.
With the right setup, you can watch comfortably again without constant volume changes, rewinding lines, or guessing what was said.